


ram.sharma
Member

Learn how to create a beautiful Facebook cover photo with this simple Photoshop tutorial.
I will show you how to create a beautiful facebook photocover with
this simple step by step tutorial. This is for beginner and with an
average time of 20 - 40 mins of creating.
Before you start, download first the things that we will use for this tutorial:
Font: Choppin Script
Brushes: Floral Circle 1
Floral Brush
Of course Photoshop also (I've used CS3 in this tutorial)
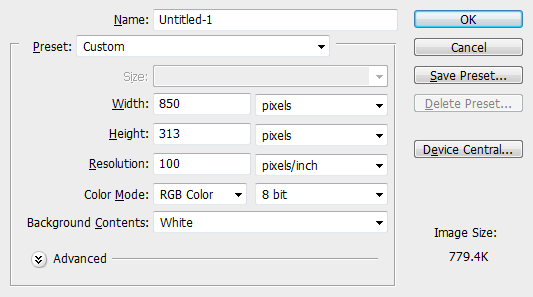
Let's start by creating a canvas with 850 x 313 px and 100 resolution.
Create a new layer (Ctrl+Shift+N) and fill it (Alt+Backspace) with color c2c4d0.
Next is open your image then place it on the right part of canvas.

Resize it (Ctrl+T) until you are satisfied

Using the eraser tool, erase the side part of the image to get this outcome:

Duplicate the image by pressing Ctrl+J
Click the Smudge Tool

Select the 63px and set the hardness to 75%

Click the brush settings
Check the Shape Dynamics and Smoothing

Smudge the side part of the image

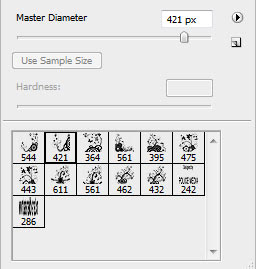
Go to brush and load the Floral Circle 1
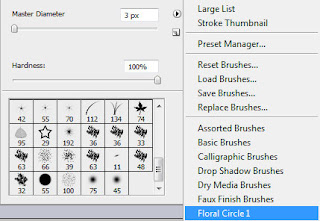
Select the second brush (421)
Create a new layer above image and name it "Floral 1" then use the brush

Re size the layer then erase some parts of it

Now select 9th brush (561)
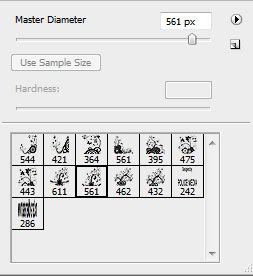
Create a new layer (Floral 2) below the image then use the brush, resize then rotate to get this outcome

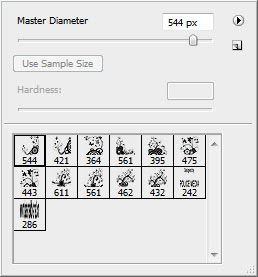
Select the first brush (544) then create the third layer (Floral 3) and place it on the right side

Load another brush (Floral Brush by Jaaaiiro) then select the second one
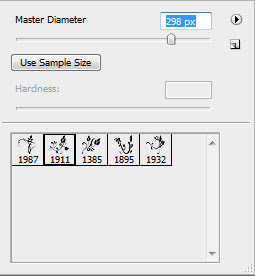
Again create a new layer (Floral 4) then repeat the steps above

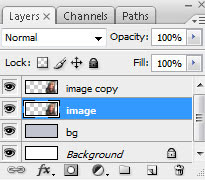
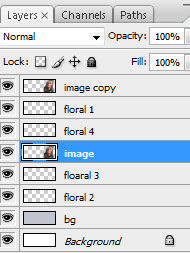
These will be the arrangement of the layers
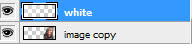
Create a new layer above image copy then by using brush tool (white), brush the left part of the image to lighten it.

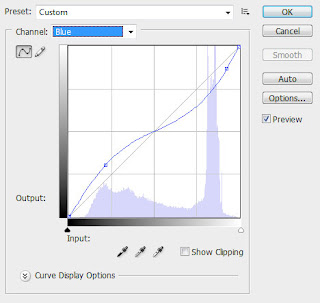
Now we will add curves, go to Layer > New Adjustment Layer > Curves
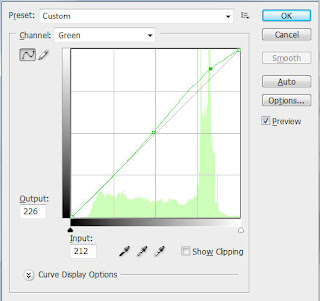
Follow these setting below for the Blue, Green, and Red settings then click OK

Were almost done, next is create a new layer.
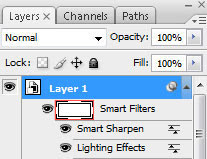
Go to Filter > Render > Lighting Effects and follow the settings below then click Ok

Go to Filter > Sharpen > Smart Sharpen and follow the settings below then click Ok

Click the white box beside Smart Filters label, then by using brush
(color black) with hardness of 50% and flow of 50%, brush the dark part.
Then you will have something like this

Now for the last step, add some text by using Chopin Script font that you've downloaded earlier and that's it.

Source: http://www.rofus.net/2013/06/create-fancy-facebook-cover-photo.html
Source: http://www.eliteuser.com/thread-1297.html
Last edited by a moderator:
")